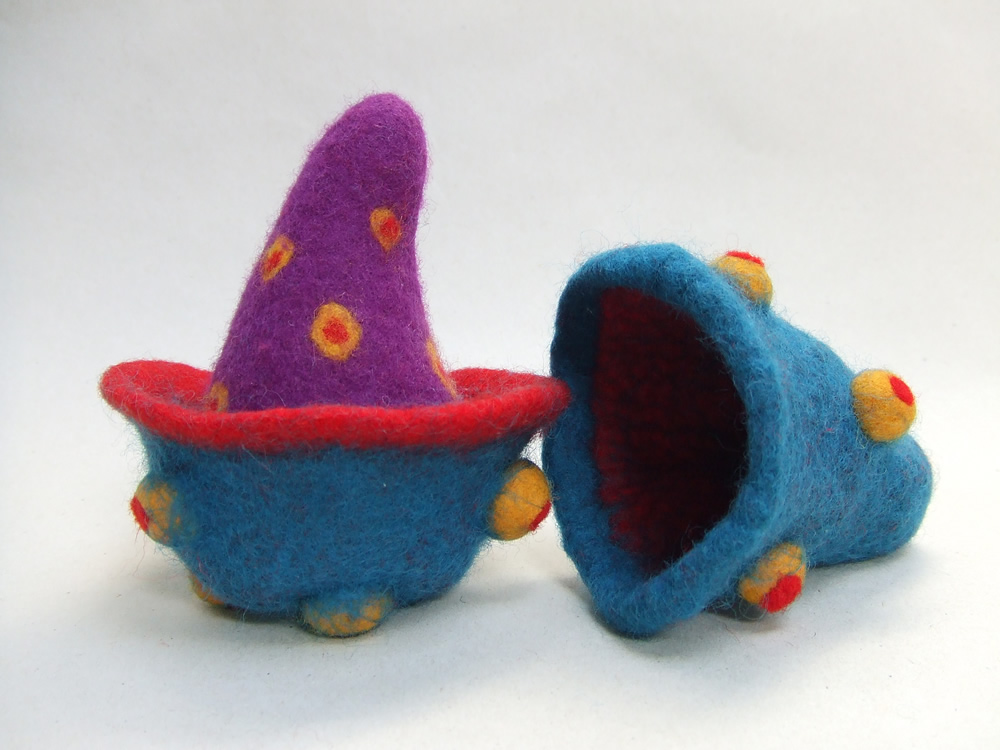
You may have gathered by now that I’m occasionally(!) prone to madcap ideas. Lately I’ve been consumed with the idea of making a set of nesting felt vessels, like an abstract version of Russian matryoshka dolls or Japanese kokeshi dolls.

As you can see from the photo above, the main challenge (apart from calculating the correct relative sizes) is finding a way for the two halves to connect. In wood, you simply carve a lip around the bottom half so that the top half can slide over it. But how to do this in felt?
Here’s the method I tried. I laid out four layers of red fibre around the main resist, then added another plastic resist strip where I wanted the “lip” to be. I laid another four blue layers on top.
When it was felted, I cut along the bottom of the strip resist through the top four layers of fibre, removed the resist, then cut along the top of where the strip had been through the bottom four layers of fibre. (Sorry – no photos: I forgot! I realise they would help considerably.)
So essentially I ended up with a bottom half made up of eight layers of fiber with a thinner lip of four layers of red fibre protruding from the top. The top half was similar, except the four layers protruding were blue fibre. Oh – and I’d added some felted yellow balls for interest. 🙂
I was hoping that the lips of four layers of fibre, being thinner than the rest of the vessels, would shrink more when I fulled them, so that the top half would fit nicely over the bottom half.
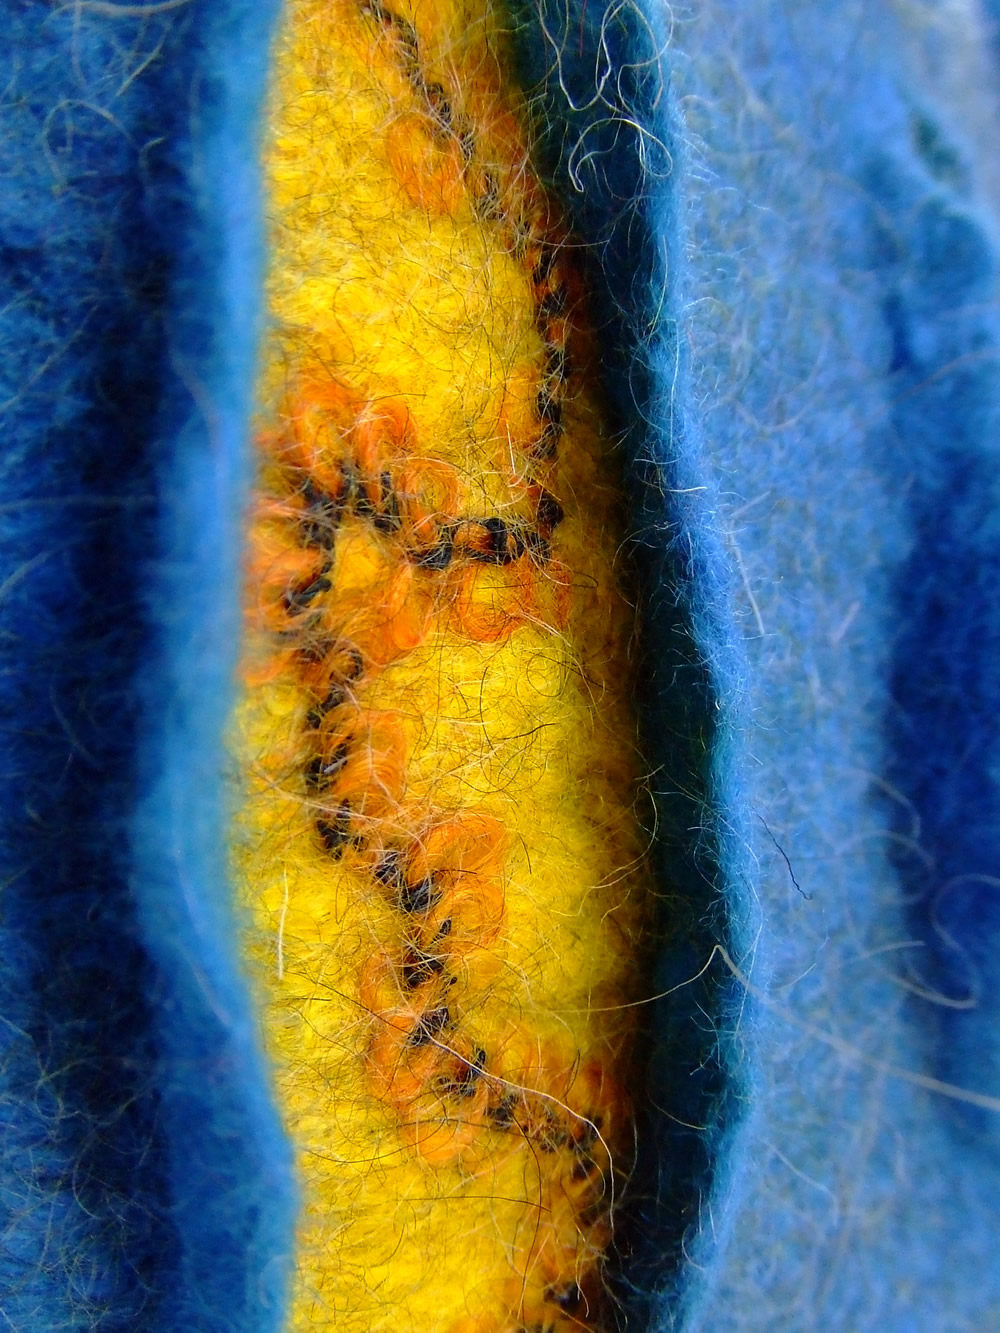
However, it didn’t quite work out like that – the red lip on the bottom half actually stretched, flaring out. Not what I wanted at all!
Here’s the result.
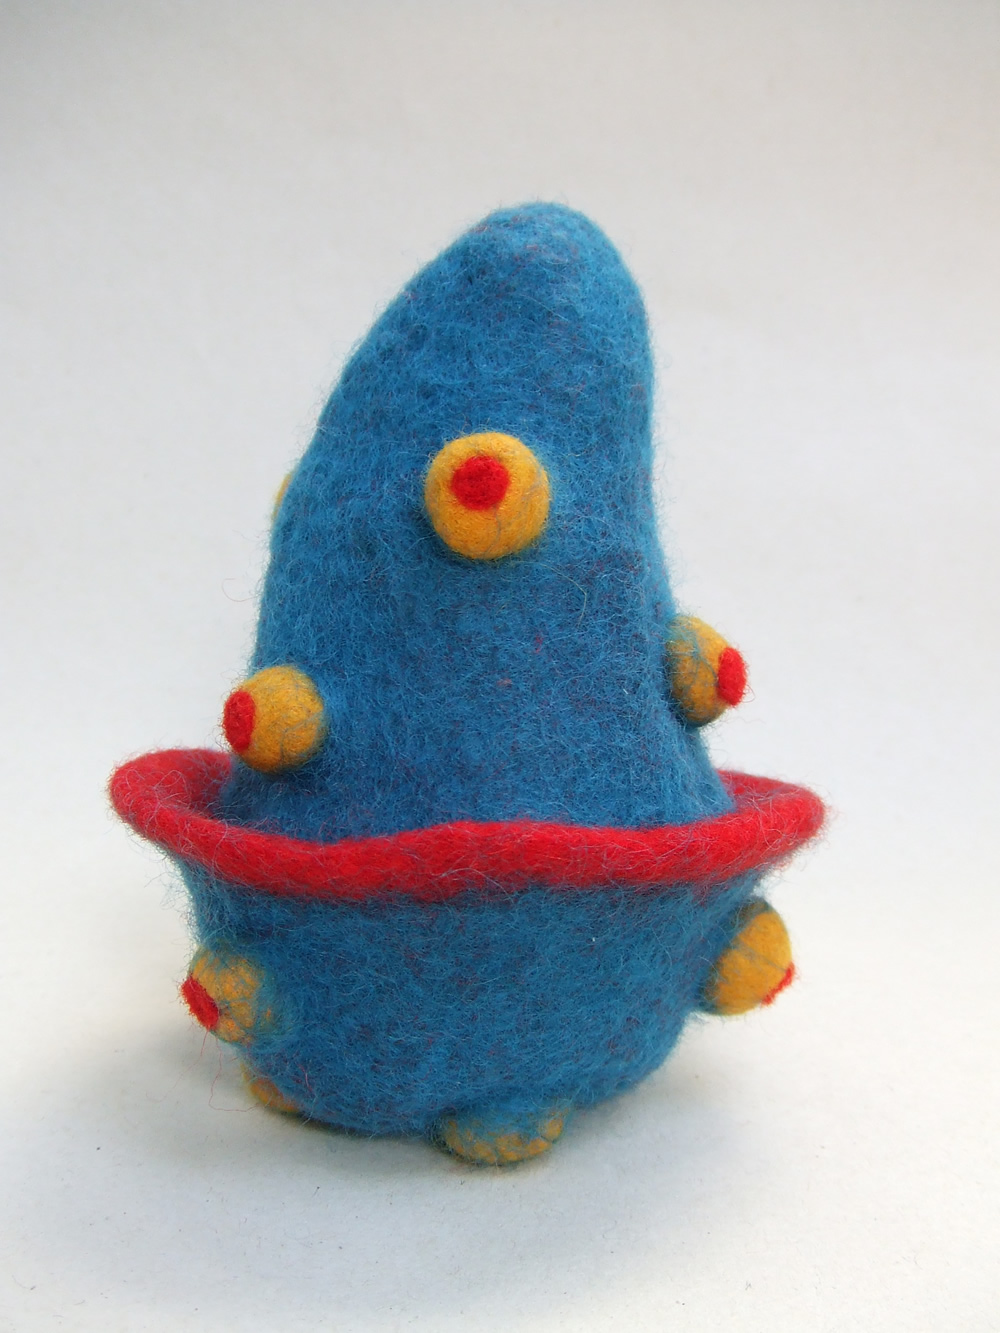
Back to the drawing board on this one for the time being. I guess I could always use it as an egg cosy. 🙂

Talking of cosies, I’ve been promising for the past year to make a felt tea cosy for the Friends of Windmill Gardens to use in their café on open days at Brixton Windmill. I finally got round to making it this week.
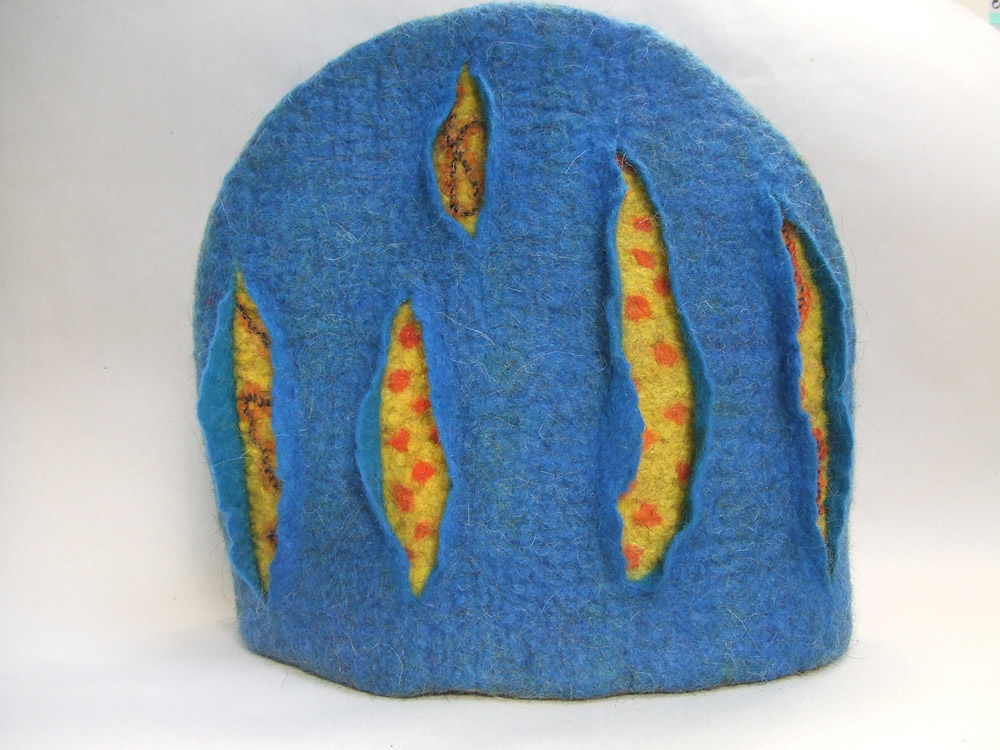

I hope they weren’t expecting one that looks like a windmill, or that will be AFOT EUWA no 3!

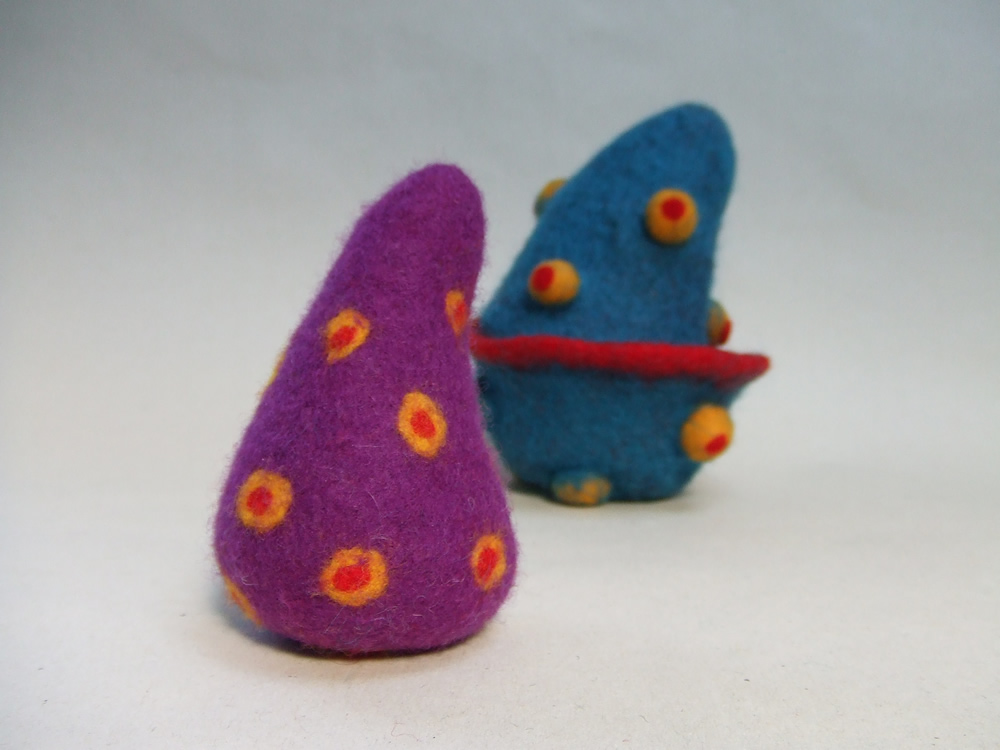
What a great idea! Photo two looks like a little purple alien in his blue space pod to me. Such gorgeous colours in all these pieces too. Can’t wait to see the how this project progresses 🙂
Thanks Laura! Henceforth this will be known as my Alien Period. 😉
It may not be quite what you had in mind, but the pod in a pod is still adorable–and hilarious. Is this how alien pods reproduce?
Have to get back to you on that one Jessica – I’m afraid alien procreation techniques are beyond my area of expertise. 😉
I think your results, even though they weren’t what you wanted, are wonderful! I look forward to seeing further experimentation. Perhaps you could add a thin long piece of commercial felt inside around the edge and then just cover that with one or two layers of wool to make your bottom edge? That might give you a stiffer edge to work with. Then just make the outside top edge slightly larger to slide over the “lip” of the commercial felt?
Thanks for the tips Ruth – I’ll try that. I also think I need to alter the shape of the resist slightly. I tried to make the edges straight at the point of the overlap so that the top half would slip over the bottom half easily, but given how much it stretches I think I will try letting it continue to narrow and see if that helps.
Those are pretty cute! I really like all the interesting things you experiment with in felt.
The update got me thinking…are you making it all in one piece at first then cutting it apart? I’m not sure from reading the steps (please pardon me if that’s what you did) …the opening might stay tighter that way. And wonder if you used a 3D shape as your resist you could felt that part firmly before cutting it open.
Looking forward to seeing another try.
~Nancy
Hi Nancy,
Sorry it’s not clear – I forgot to take any photos! I started off making it all in one piece and cutting it apart, but it wasn’t very successful. That’s why I decided to try two separate resists, as described in the update. However, I was trying to create a “lip” rather than just cutting straight across, so maybe I will try that.
I’ve never had much luck felting on 3D resists – I find it difficult to get even layers and firm felting. If you have any tips it would be good to hear them! 🙂